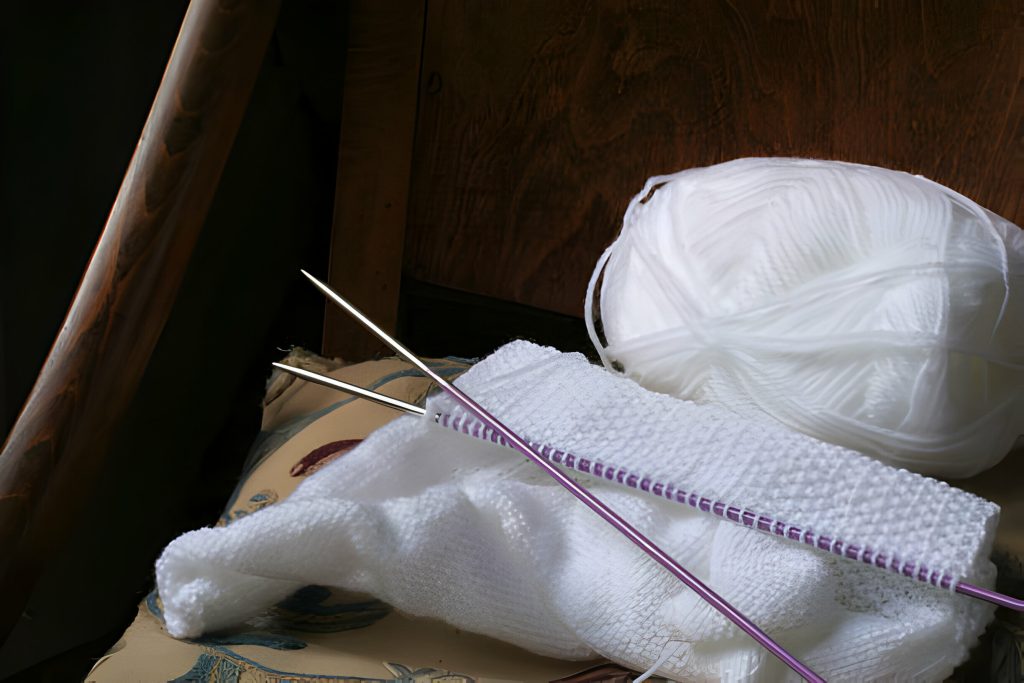
Do you want to master the art of knitting? Discover the three essential steps that will take your skills to new heights. From casting on to binding off, each stage is crucial in transforming you into a proficient knitter. Dive into this article for a comprehensive guide on how to navigate through these fundamental techniques effortlessly. Get ready to elevate your knitting game and unleash your creativity with every stitch!
Step 1: Casting On
To start your knitting project, you’ll need to master the first step: casting on. When choosing yarn for casting on, consider its weight and texture. Needle sizes play a crucial role in achieving the right tension while casting on – larger needles create looser stitches. Tension control is key; too tight results in difficulty knitting, while too loose leads to uneven stitches. Common beginner mistakes include twisted stitches or accidentally adding extra loops. Practice different casting techniques such as long-tail cast on or knitted cast on to find what works best for you. Remember, mastering casting on sets the foundation for a successful knitting project ahead!
Step 2: Knitting Stitches
Explore different stitch patterns to enhance your knitting projects. By incorporating stitch variations, you can create unique textures and designs. Pay attention to tension control for even and professional-looking results. Experiment with color changes to add depth and visual interest to your pieces. Utilize various stitch patterns like garter, stockinette, ribbing, or cables to achieve different effects in your knitting. Below is a table showcasing some common stitch patterns for you to try:
| Stitch Pattern | Description |
|---|---|
| Garter Stitch | Simple knit every row |
| Stockinette | Knit one row, purl one |
| Ribbing | Alternating knit and purl |
| Cables | Create twists and turns |
| Seed Stitch | Mix of knit and purl |
Dive into these techniques to elevate your knitting projects!
Step 3: Binding Off
Let’s dive into binding off to complete your knitting project with a clean edge. Edge finishing is crucial for a polished look. To bind off, maintain tension control to ensure an even edge. Use a slip stitch technique to create a smooth finish. If you’re working in garter stitch, bind off by knitting two stitches, then pass the first stitch over the second. For added flair and flexibility, incorporate yarn overs before binding off; this creates decorative holes along the edge. Mastering these techniques will give your project a professional touch while showcasing your skills. Happy knitting!
Yarn Selection and Tools
When selecting yarn and tools, ensure they match the requirements of your knitting project for a successful outcome. Consider yarn weights and needle sizes to achieve the desired texture and gauge swatches for accuracy. Make color choices that complement your design, using stitch markers to keep track of intricate patterns. Explore different fiber types for varying effects and plan your project meticulously. Organize your tools efficiently for easy access and store yarn properly to maintain quality. Select textures that enhance your creation and strategize project planning for a smooth knitting experience. By paying attention to these details, you set yourself up for a rewarding knitting journey filled with beautiful creations.
Reading Patterns and Charts
To read patterns and charts effectively, you should pay close attention to symbols and abbreviations for a smooth knitting experience. Pattern decoding is essential for understanding the instructions accurately. Chart interpretation helps visualize complex stitch patterns. Stitch counting ensures accuracy in your project’s size and shape. Color changes add depth and interest; following color-coding in charts is crucial for this. Gauge swatching before starting a project ensures that your knitted piece matches the pattern’s measurements. By mastering these skills, you can confidently tackle intricate designs and create beautiful knitted items with precision. Remember, practice makes perfect when it comes to interpreting patterns and charts in your knitting projects!
Troubleshooting Common Issues
You might encounter common issues like dropped stitches, tension problems, and holes while knitting. Here are a few tips to help you troubleshoot these problems:
- Tension Problems: Adjust your grip on the yarn to control tension better.
- Dropped Stitches: Use a crochet hook to pick up dropped stitches promptly.
- Hole Prevention: Check your stitch count regularly to catch mistakes early.
Remember to keep an eye out for yarn splitting, as this can lead to both tension issues and holes in your knitting. By paying attention to these details and practicing regularly, you’ll overcome common knitting obstacles with ease.
Finishing Touches and Blocking
After troubleshooting common knitting issues, it’s time to focus on finishing touches and blocking. Blocking techniques involve shaping your finished piece by pinning it out and steaming or wetting the fibers to set them in place. This step ensures your project has a polished, professional finish. By paying attention to finishing details like blocking, you enhance the overall appearance and drape of your knitted item. Blocking benefits include evening out stitches, correcting dimensions, and enhancing stitch definition. To achieve a professional finishing look, invest in quality blocking tools such as blocking mats, T-pins for securing your work, and a spray bottle for misting water onto the fabric. Mastering these blocking techniques will elevate your knitting projects to new heights of craftsmanship.


